
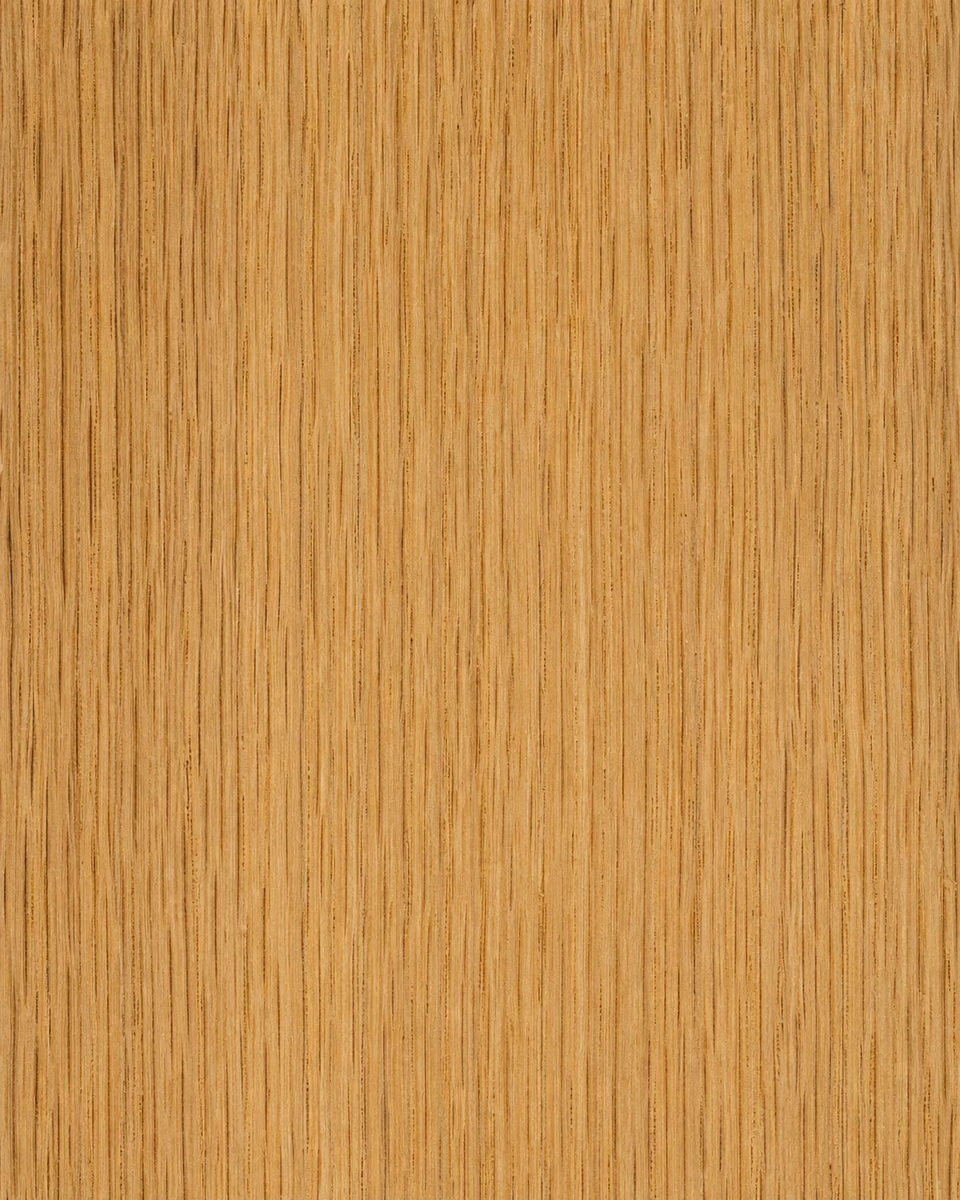
Quarter-cut
A linear, regular grain, ideal for ordered surfaces, large panels and contemporary compositions.
Colour, grain, figure, thickness and intended use: choosing a veneer means bringing the identity of the material into dialogue with the project.
Start with a sample ↗TONE AND LIGHT
Light, medium or dark is only the first level. The same species changes with finish, light, oxidation and surrounding materials.
Light species visually expand a space and work naturally in bright interiors. Mid tones bring warmth and balance. Dark species create depth, contrast and a more decisive presence.
Always assess the sample in the project’s real light and beside the other materials. A photograph can offer direction, but it cannot reproduce the variation, reflections and depth of natural wood.
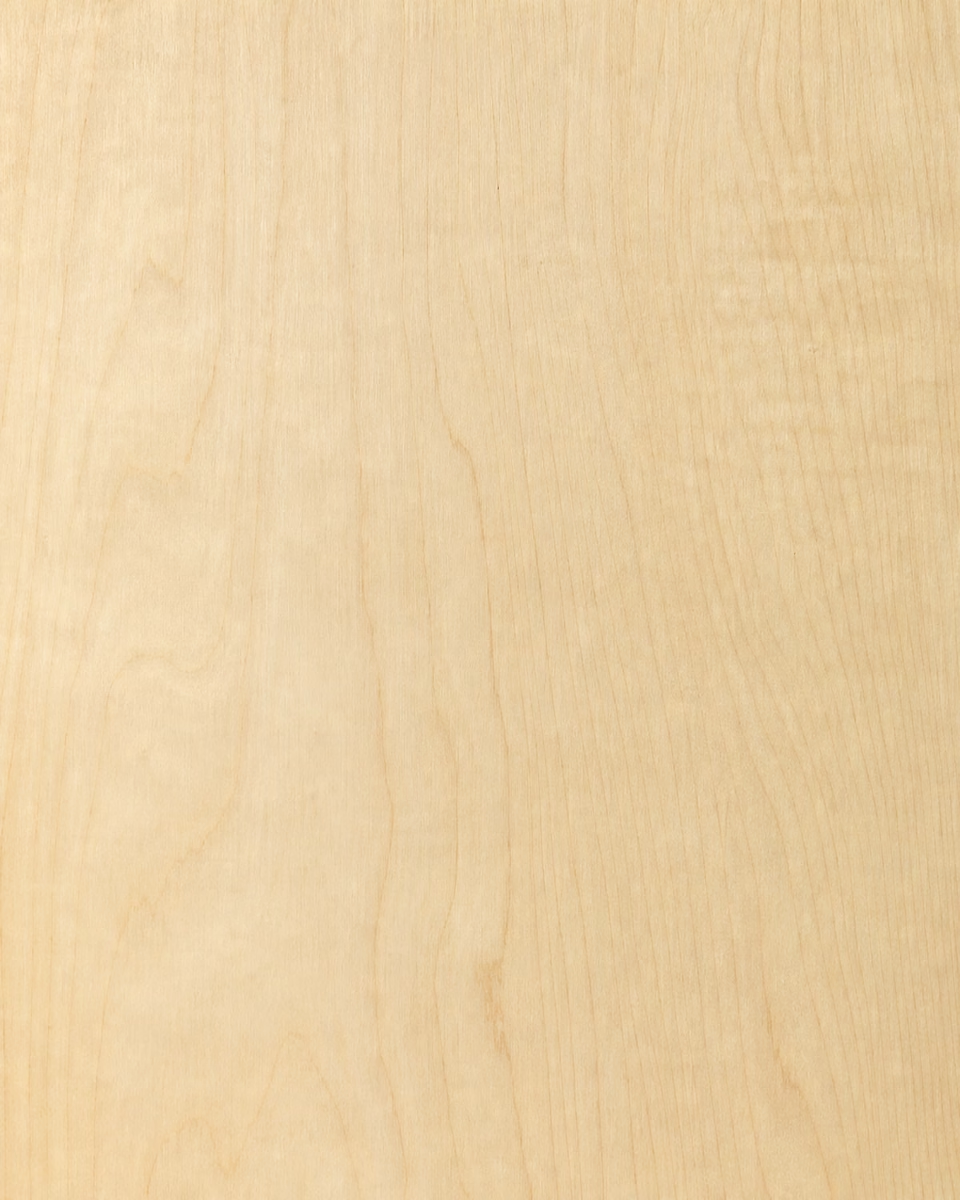
Cream, straw and pale honey tones soften the surface and make the space feel more open.
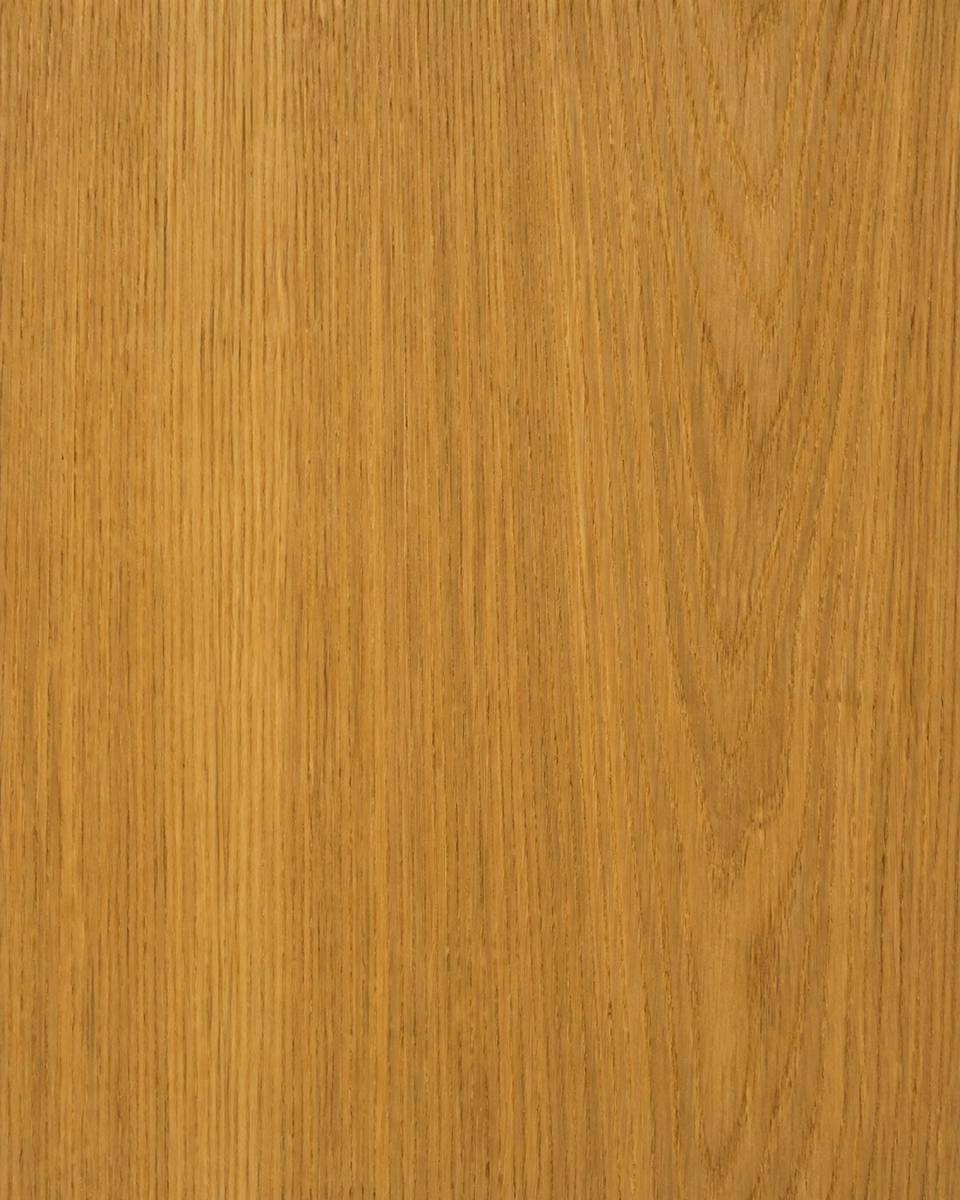
Honey, hazelnut and warm brown make the material present without overwhelming the other finishes.
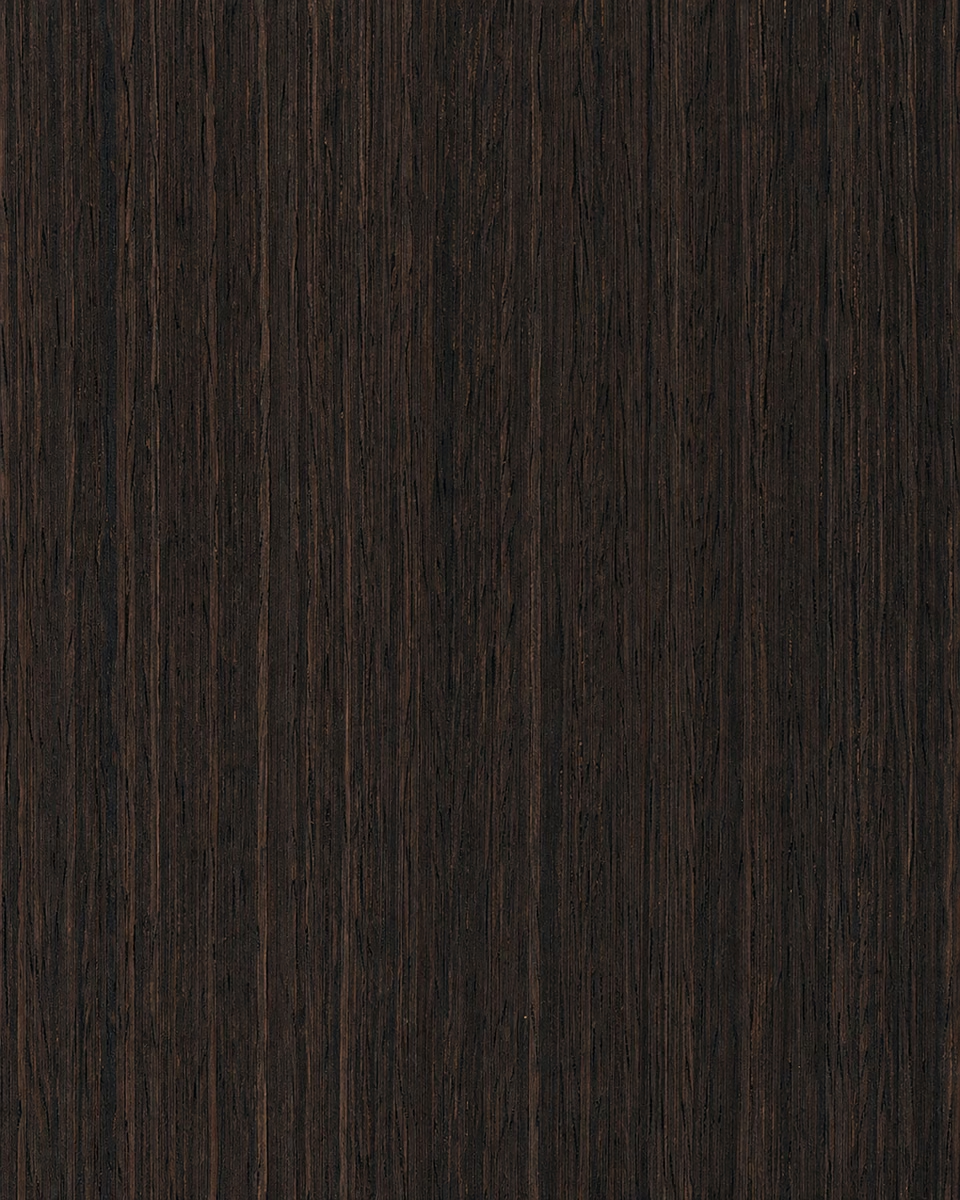
Deep browns and near-black tones define strong contrasts, backdrops and details with real presence.
Images are illustrative references: the final tone is always checked on the sample and the actual batch.
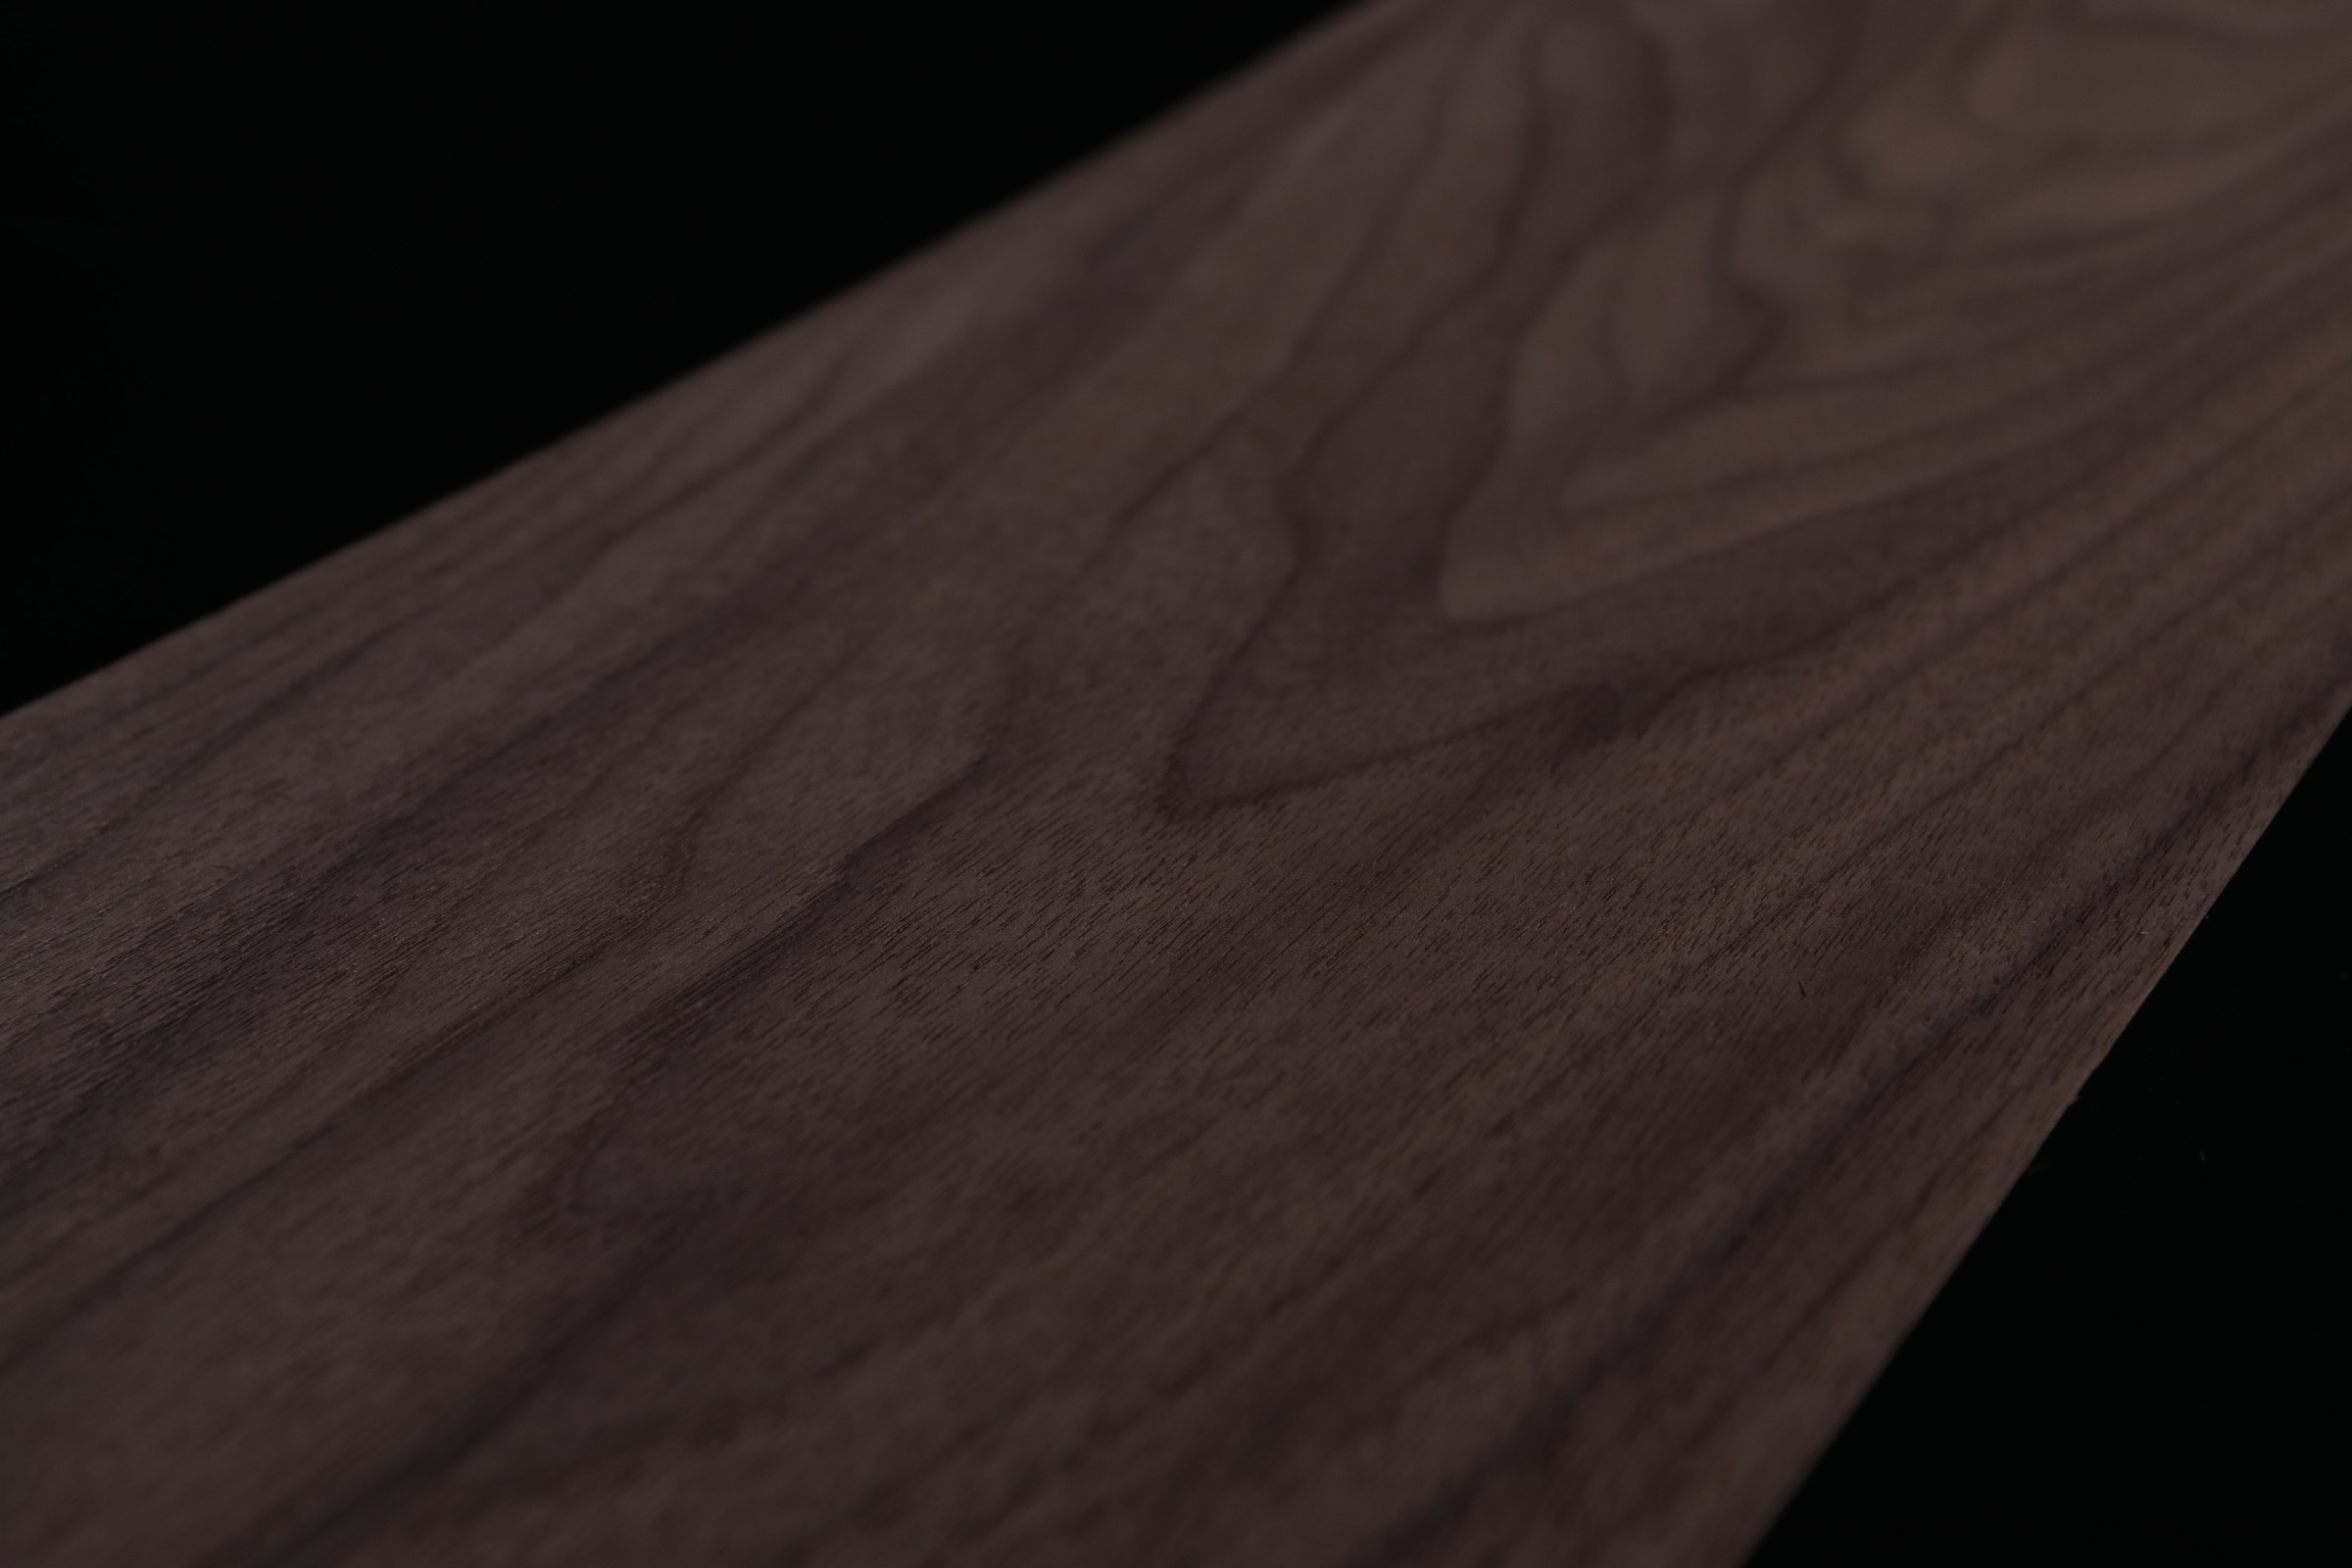
On the actual sheet, light does more than colour the surface: it reveals fibre, depth and reflections that a colour scale can only suggest.
There is no universally superior figure. There is the one that gives the project the right rhythm and can be selected with continuity across the required surface.
A linear, regular grain, ideal for ordered surfaces, large panels and contemporary compositions.
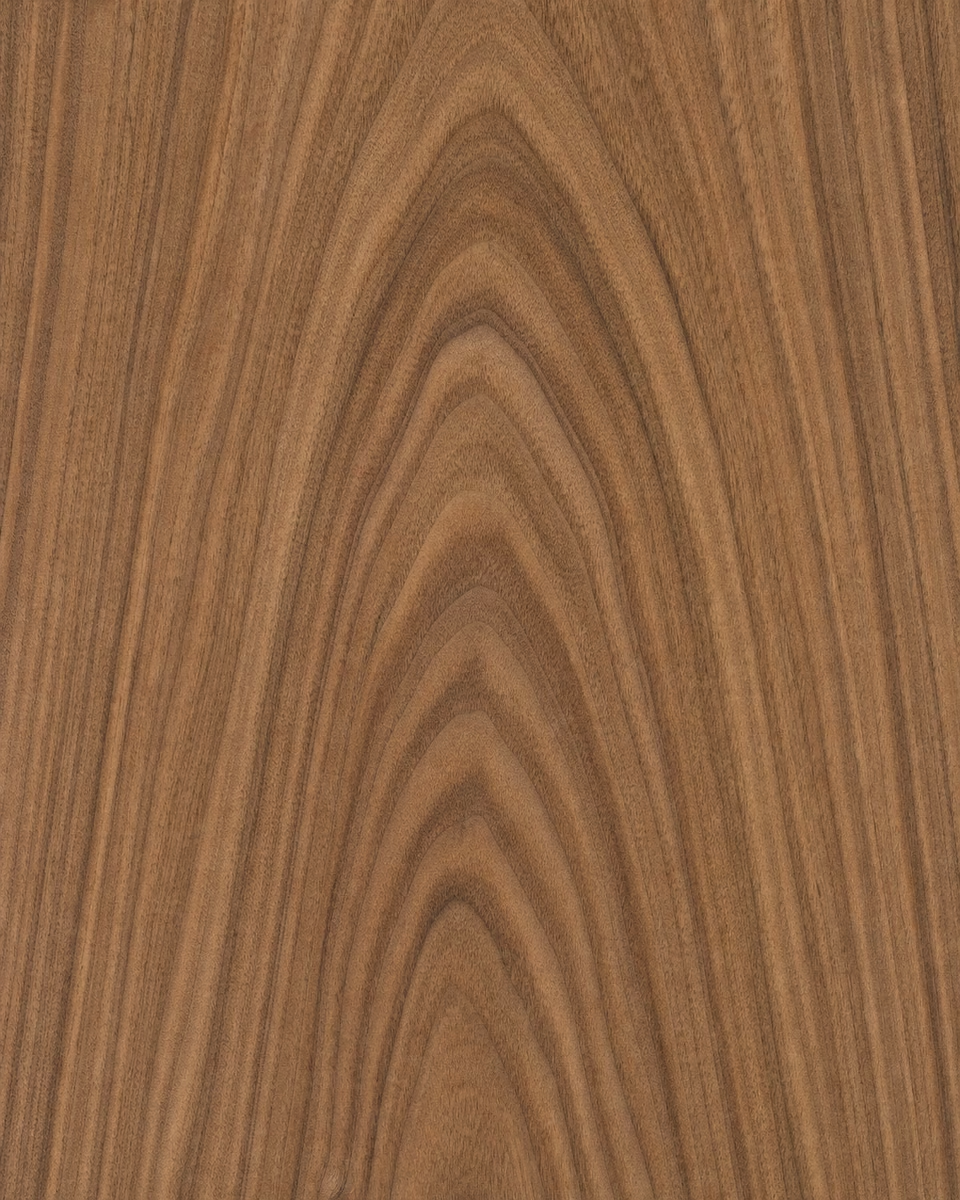
An open, dynamic pattern with the characteristic cathedral shape that reveals the trunk’s natural expression.
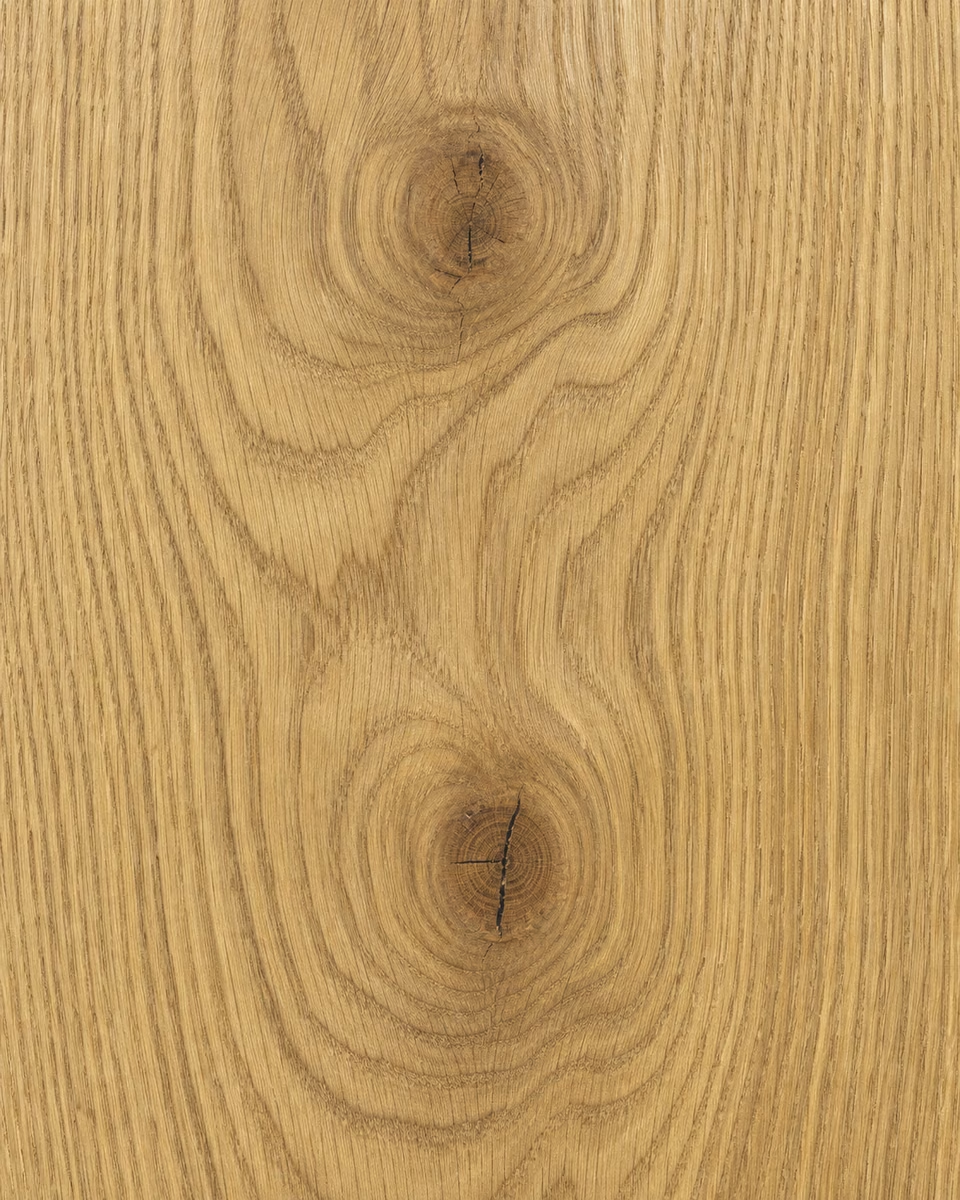
Knots and variations become part of the design, creating a result that is authentic, lively and intentionally irregular.
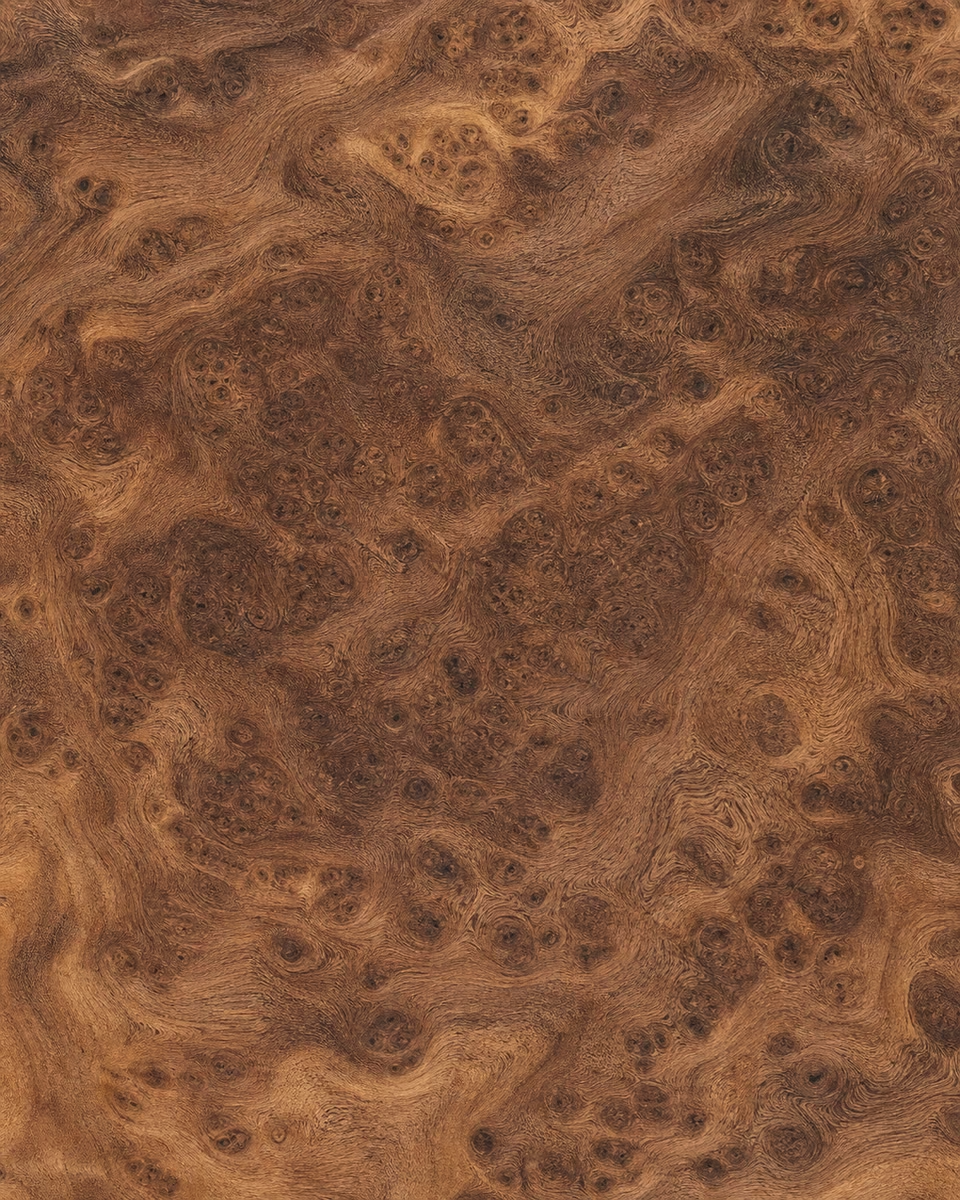
A dense, deep and precious figure for decorative accents, exclusive details and surfaces with exceptional character.
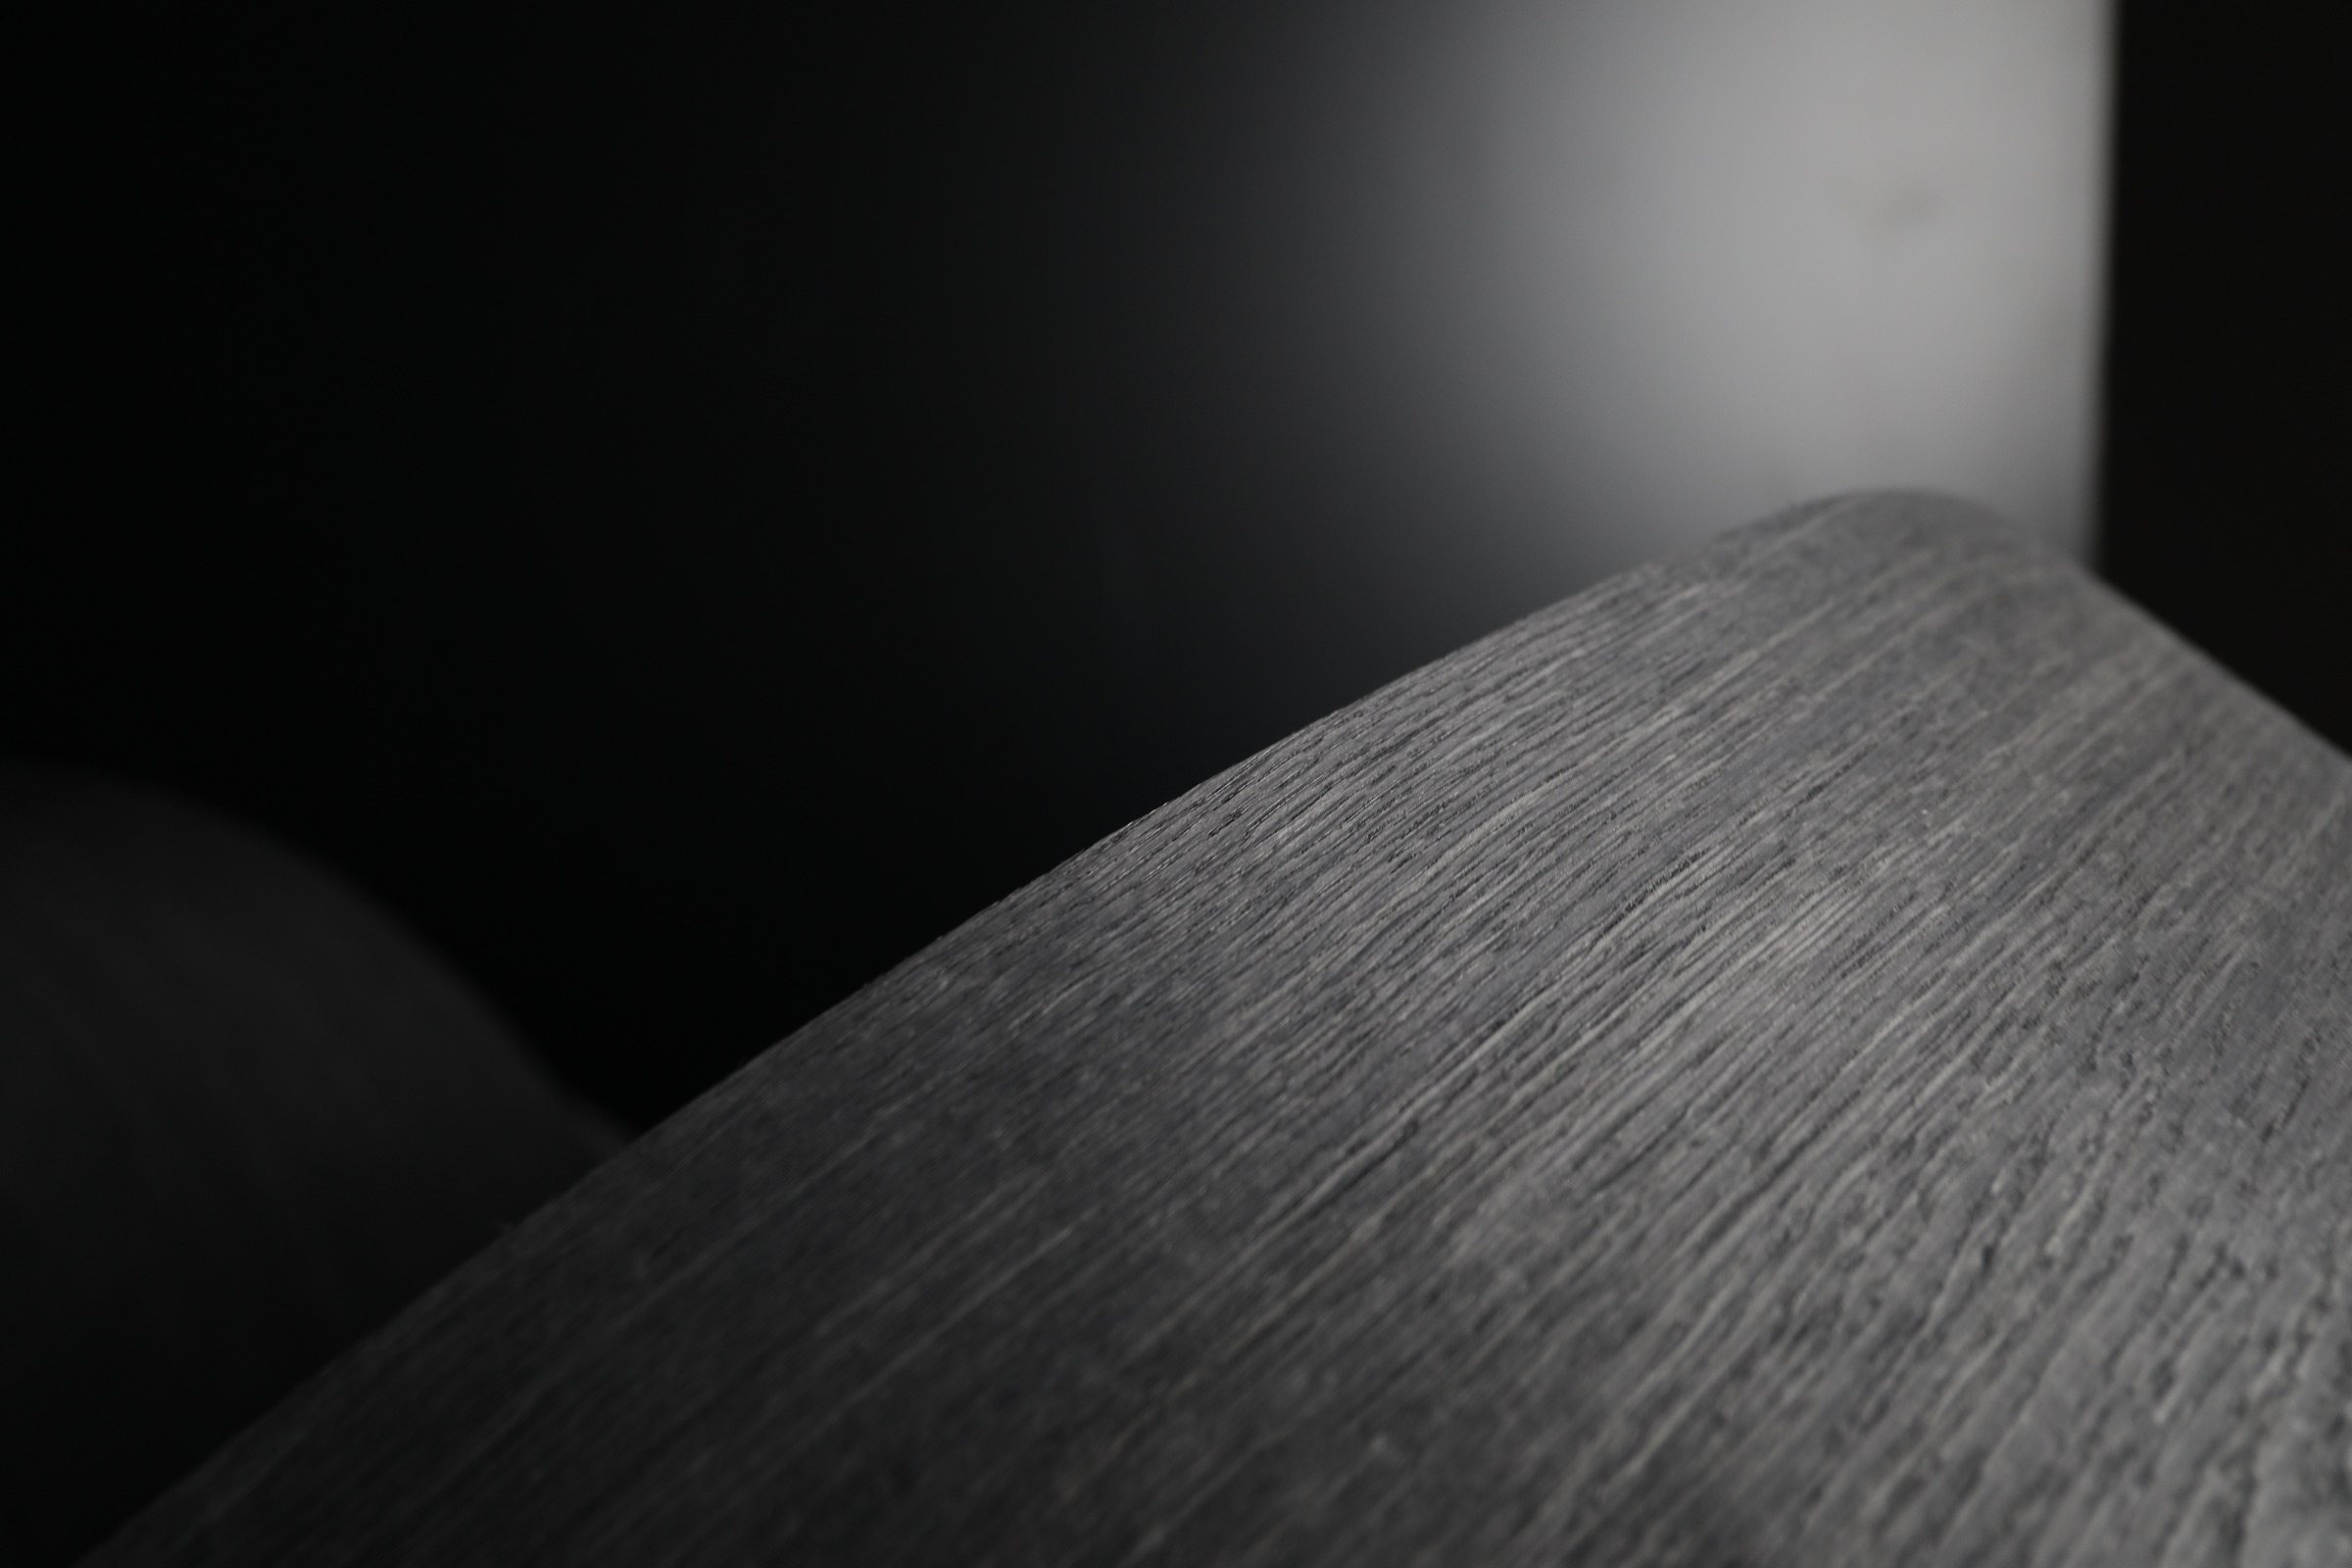
Turning the sheet and changing the direction of light reveals the grain’s direction, rhythm and relief.
THICKNESS
Thickness depends on the substrate, processing, bending radius, finish and desired result. These are the thicknesses we commonly handle.
The most common choice for panels, furniture, doors and wall coverings when lightness and flexibility matter.
Greater material presence and more working margin for projects that require a robust surface.
A significant thickness for special processes, details and applications that need a fuller appearance.
The most substantial option in the usual range, to be assessed together according to species and use.
An even stronger material presence for dedicated processes, always to be checked against species, format and project.
Technical note Not every species is available in every thickness or dimension. We verify feasibility and format on the selected material before confirmation.
Fronts, tables, cabinetry and bespoke furniture require a balance of figure, continuity and finish resistance.
Across large surfaces, sheet sequence, grain direction and colour consistency become central to the result.
Repeatability, availability and batch management should be defined early, especially for complex or multi-site projects.
Burls, expressive figures and rare species can turn small elements into focal points.
Radius, substrate and application method determine the most suitable thickness and type of veneer.
Stone, metal, textiles and colour alter the perception of wood; physical comparison prevents surprises.
THE PROCESS

Species, thickness, figure and batch: making the material legible is part of the selection process.
Application, quantity, dimensions, desired tone, timing and visual references give us the context we need.
We identify suitable species and figures, including related options when they can improve availability or the result.
View the material in the actual light and beside the real finishes. A sample is the beginning, not the full range of natural variation.
We check thickness, dimensions, quantity, substrate and the continuity of material required for the project.
Once the direction is confirmed, we prepare the material with the care required by the final composition.
Partial information is absolutely fine. When available, these details help us give you a more precise answer.